Setting Up the “New Assets” Trigger on Zapier
Welcome to our step-by-step guide on setting up the “New Assets” trigger through Zapier for our SaaS platform. This feature allows you to automate your workflow by repurposing text, audio, and video content into social posts and other formats. Follow these instructions to integrate this powerful tool into your daily operations.
Step 1: Logging In
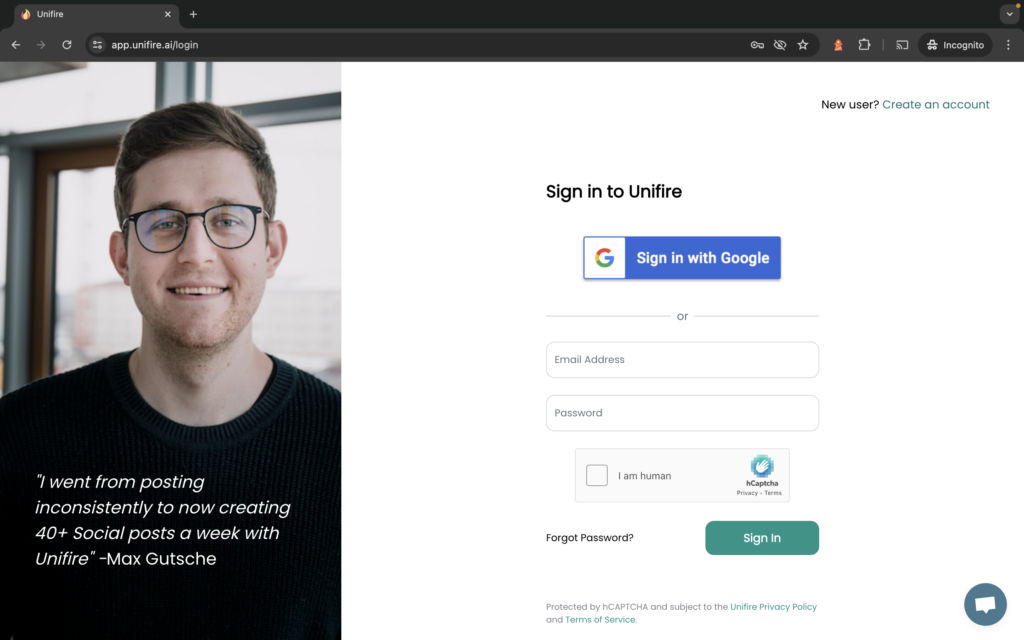
Access the Login Page
– Navigate to our SaaS platform’s homepage.
– Click on the ‘Login’ button, typically at the top right corner.

Enter Your Credentials
- Enter your username and password in the respective fields.
- Hit ‘Sign In’ to access your dashboard.
Step 2: Accessing the Dashboard
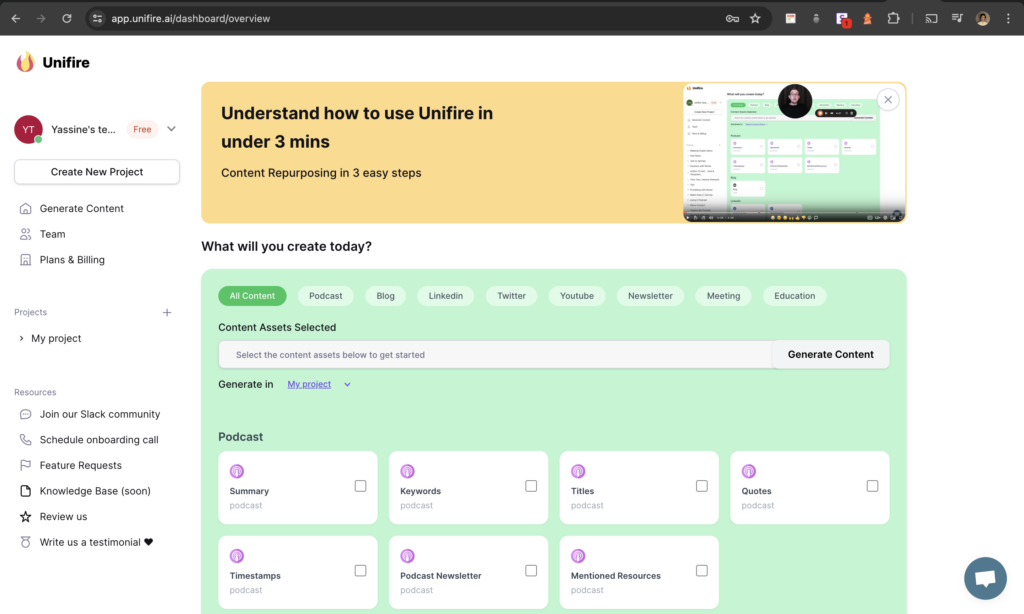
Navigate the Dashboard
- Post-login, you will be directed to your dashboard which displays your projects and activities.
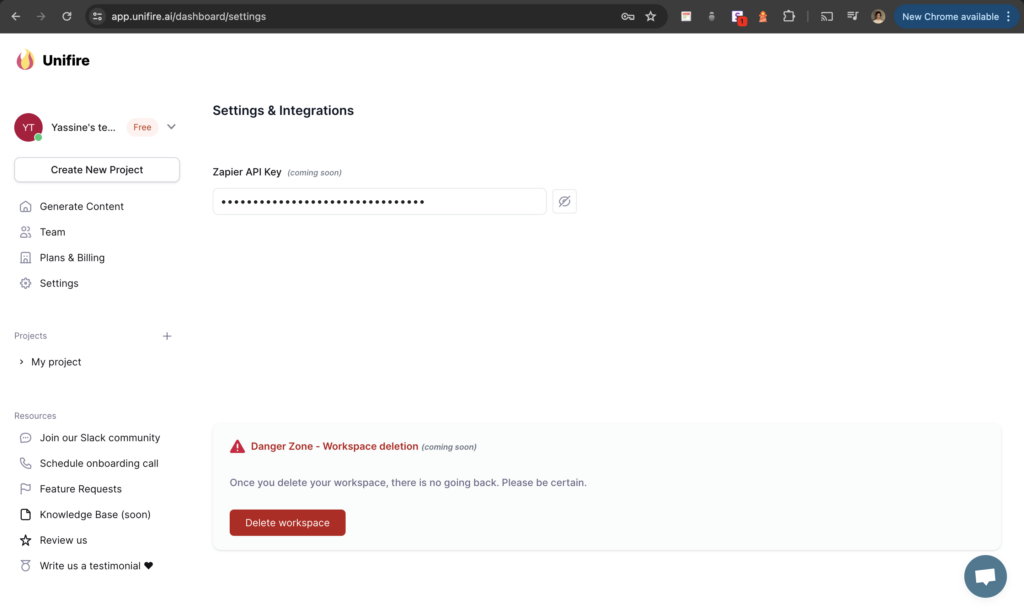
- Click on “Settings”, that’s where your API key is located

Workspace Settings
– Find the settings icon, often in the upper right or in a sidebar menu.
– Click on ‘Settings’ or ‘Workspace Settings.’
Step 3: Obtaining the API Key
Access API Settings
– In the Workspace Settings, select the ‘API’ tab or section.

Copy Your API Key
– Copy the API key by clicking on the API Key field. Once done successfully, you’ll see a tooltip in green displaying “Copied!”
Integrating with Zapier
Set Up Zap
- Open Zapier and select ‘Make a Zap.’
- Search for and select Unifire.
Choose Trigger
- Choose the ‘New Assets’ trigger.
- Click ‘Save + Continue.’
Authenticate
- Paste the API key into the authentication field on Zapier.
- Complete any additional authentication steps.
Test the Trigger
– Perform a test to ensure the trigger is working correctly.
Proceed with Zap Configuration
– Configure your Zap with desired actions that will run when new assets are detected.
Thank you for following our setup guide. If you encounter any issues or have questions, please refer to our FAQ or contact our support team for assistance.

